H got a lot of mileage from Easter Bonnet no. 1, but 4 yrs on she decided it was time for a new one. ‘Can it be the same, but different with a row of flowers round the brim?’
I made the bonnet using a biscuit coloured cotton drill and some very thick fusible interfacing. I looked around for patterns – but didn’t find any I quite liked although there was a great tutorial for making a Victorian bonnet from a straw hat and another for making a spoon bonnet.
For the main structure of the bonnet I cut 3 pieces of fabric out.
I gathered the back circle slightly, sewed the main section into a tube and then attached the back piece. The shape of these pieces and the thickness of the interfacing made this a bit awkward.
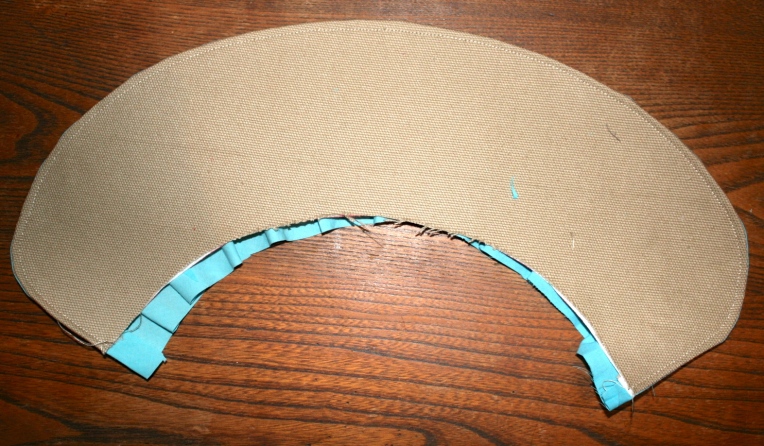
For the brim I thought a pleated lining would add a nice detail so cut a long strip from an old shirt and ironed in pleats that made it fit the shape of the brim section, and then sewed it with right sides together to the brim piece along the front edge.
After turning it inside out I sewed it into place and then attached it to the main bonnet section.
On the bottom edge I then cut out a semicircular shape to make it fit to the head around the neck and top stitched all the way around.
I then attached to strips of material for ties and hand stitched in a lining.
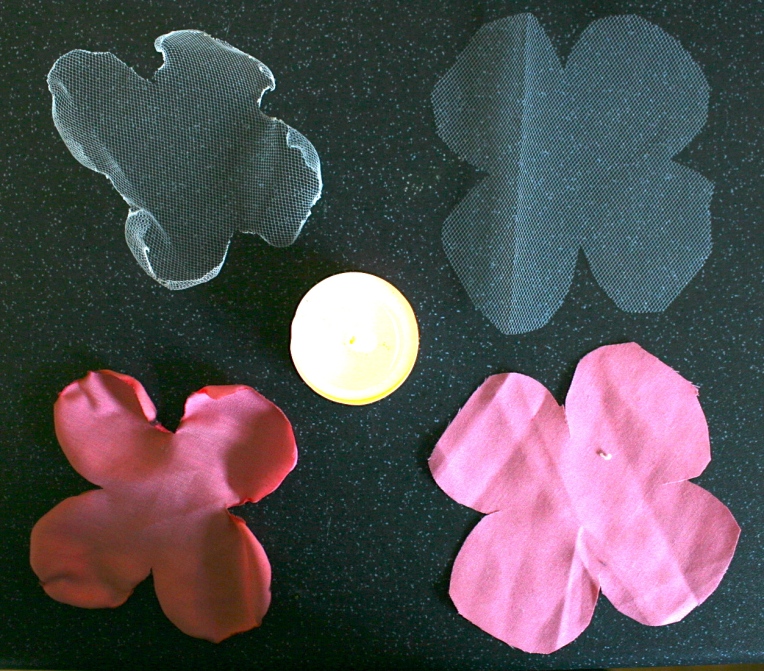
Next came the fun bit of adding flowers. I made some using the machine and the method I’d used for the last bonnet.
There is a great tutorial for these textured flowers over on Make it & Love it – I used this to make the large blue and pink flowers.
As H wanted to help make some of the flowers we also used some other techniques that were stuck together using a glue gun.
French pouf style flower tutorial – we used this technique for the large yellow flower.
Gathered ruffle flower tutorial – we used this to make the small yellow flowers.
Burnt peony tutorial– we didn’t use this tutorial, but used the technique of burning/melting the edges of polyester material to create texture on the pink and white roses on the top of the hat.
Fabric rose tutorial – we used this technique to make the white and pink rose on the top of the hat.
For the foliage we cut some strips of dark green felt and glued onto some of the flowers and gathered some large pieces of light green material and attached to the back of the flowers.


What a lovely item. I really appreciate all the references, especially for the melted edge flowers which look totally professional.